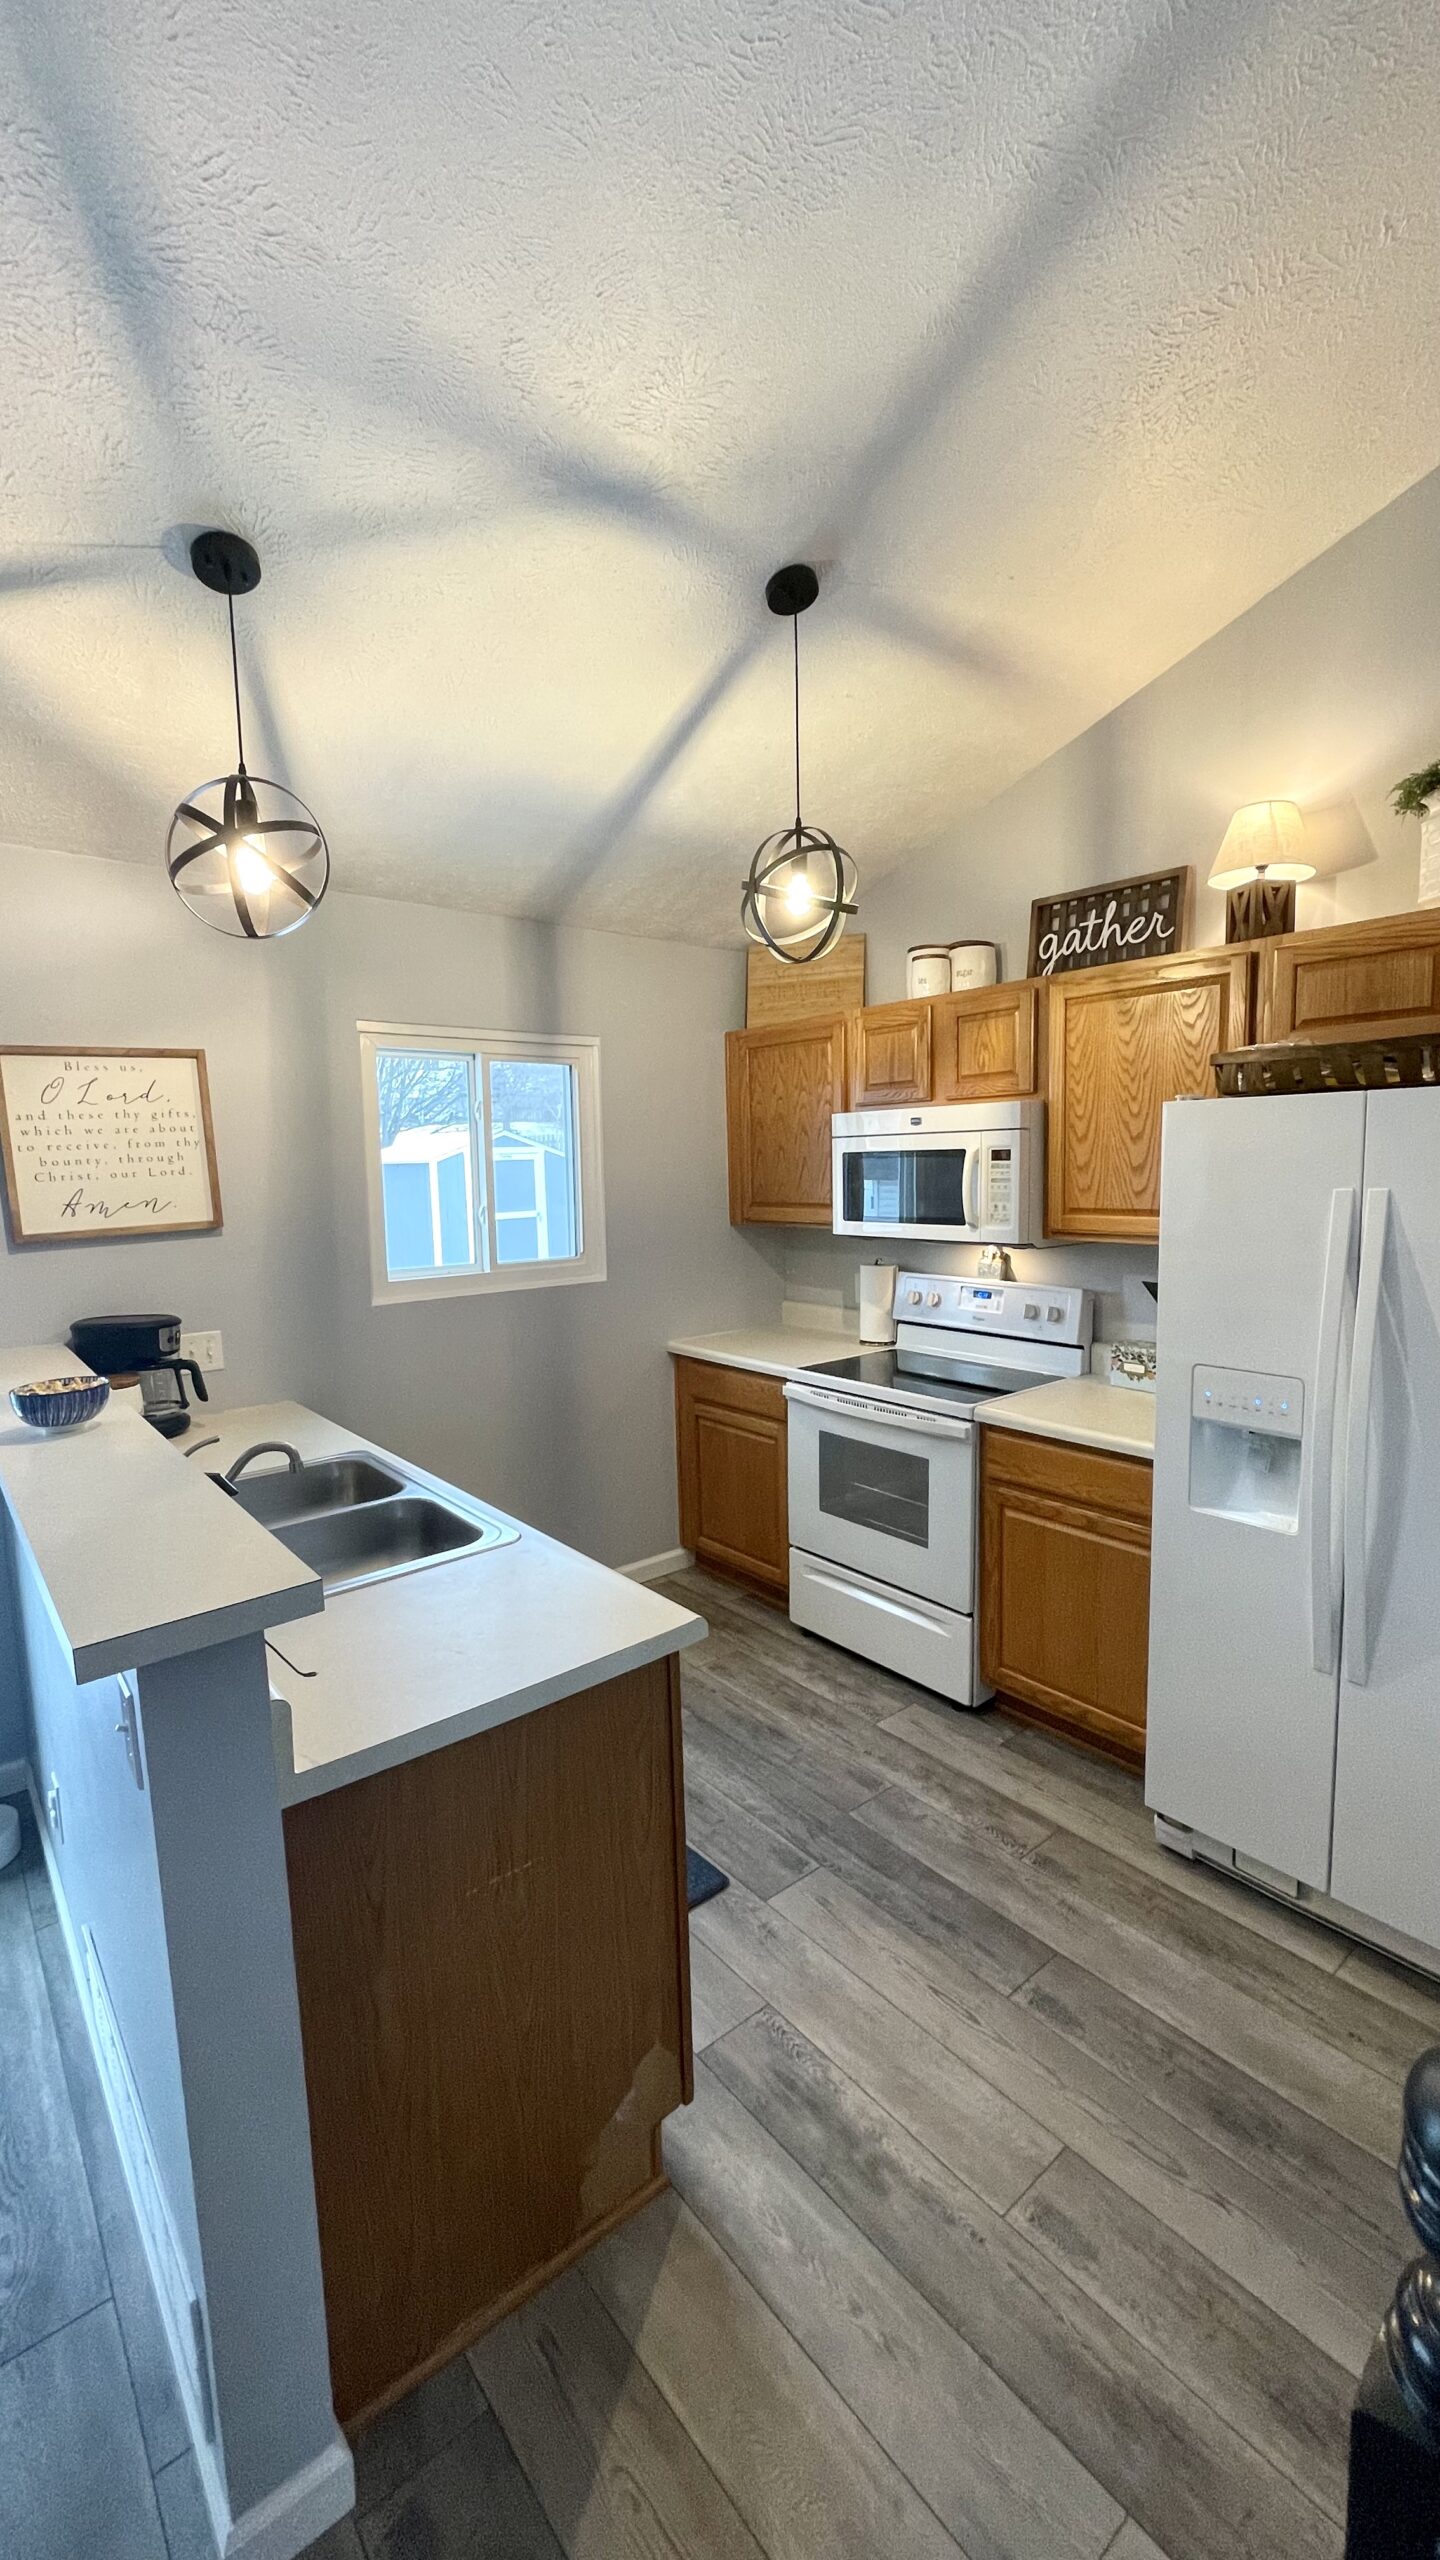
It’s been a little over a month since we finished updating our kitchen, so I thought I would share our process along with some of my favorite kitchen items! This is not our forever home, and we don’t plan on being here a long time, so we didn’t want to spend a ton of money, but we also were tired of the late 90s early 2000s aesthetic that our kitchen was giving. So Colin, and I did a little research and dove in one weekend.
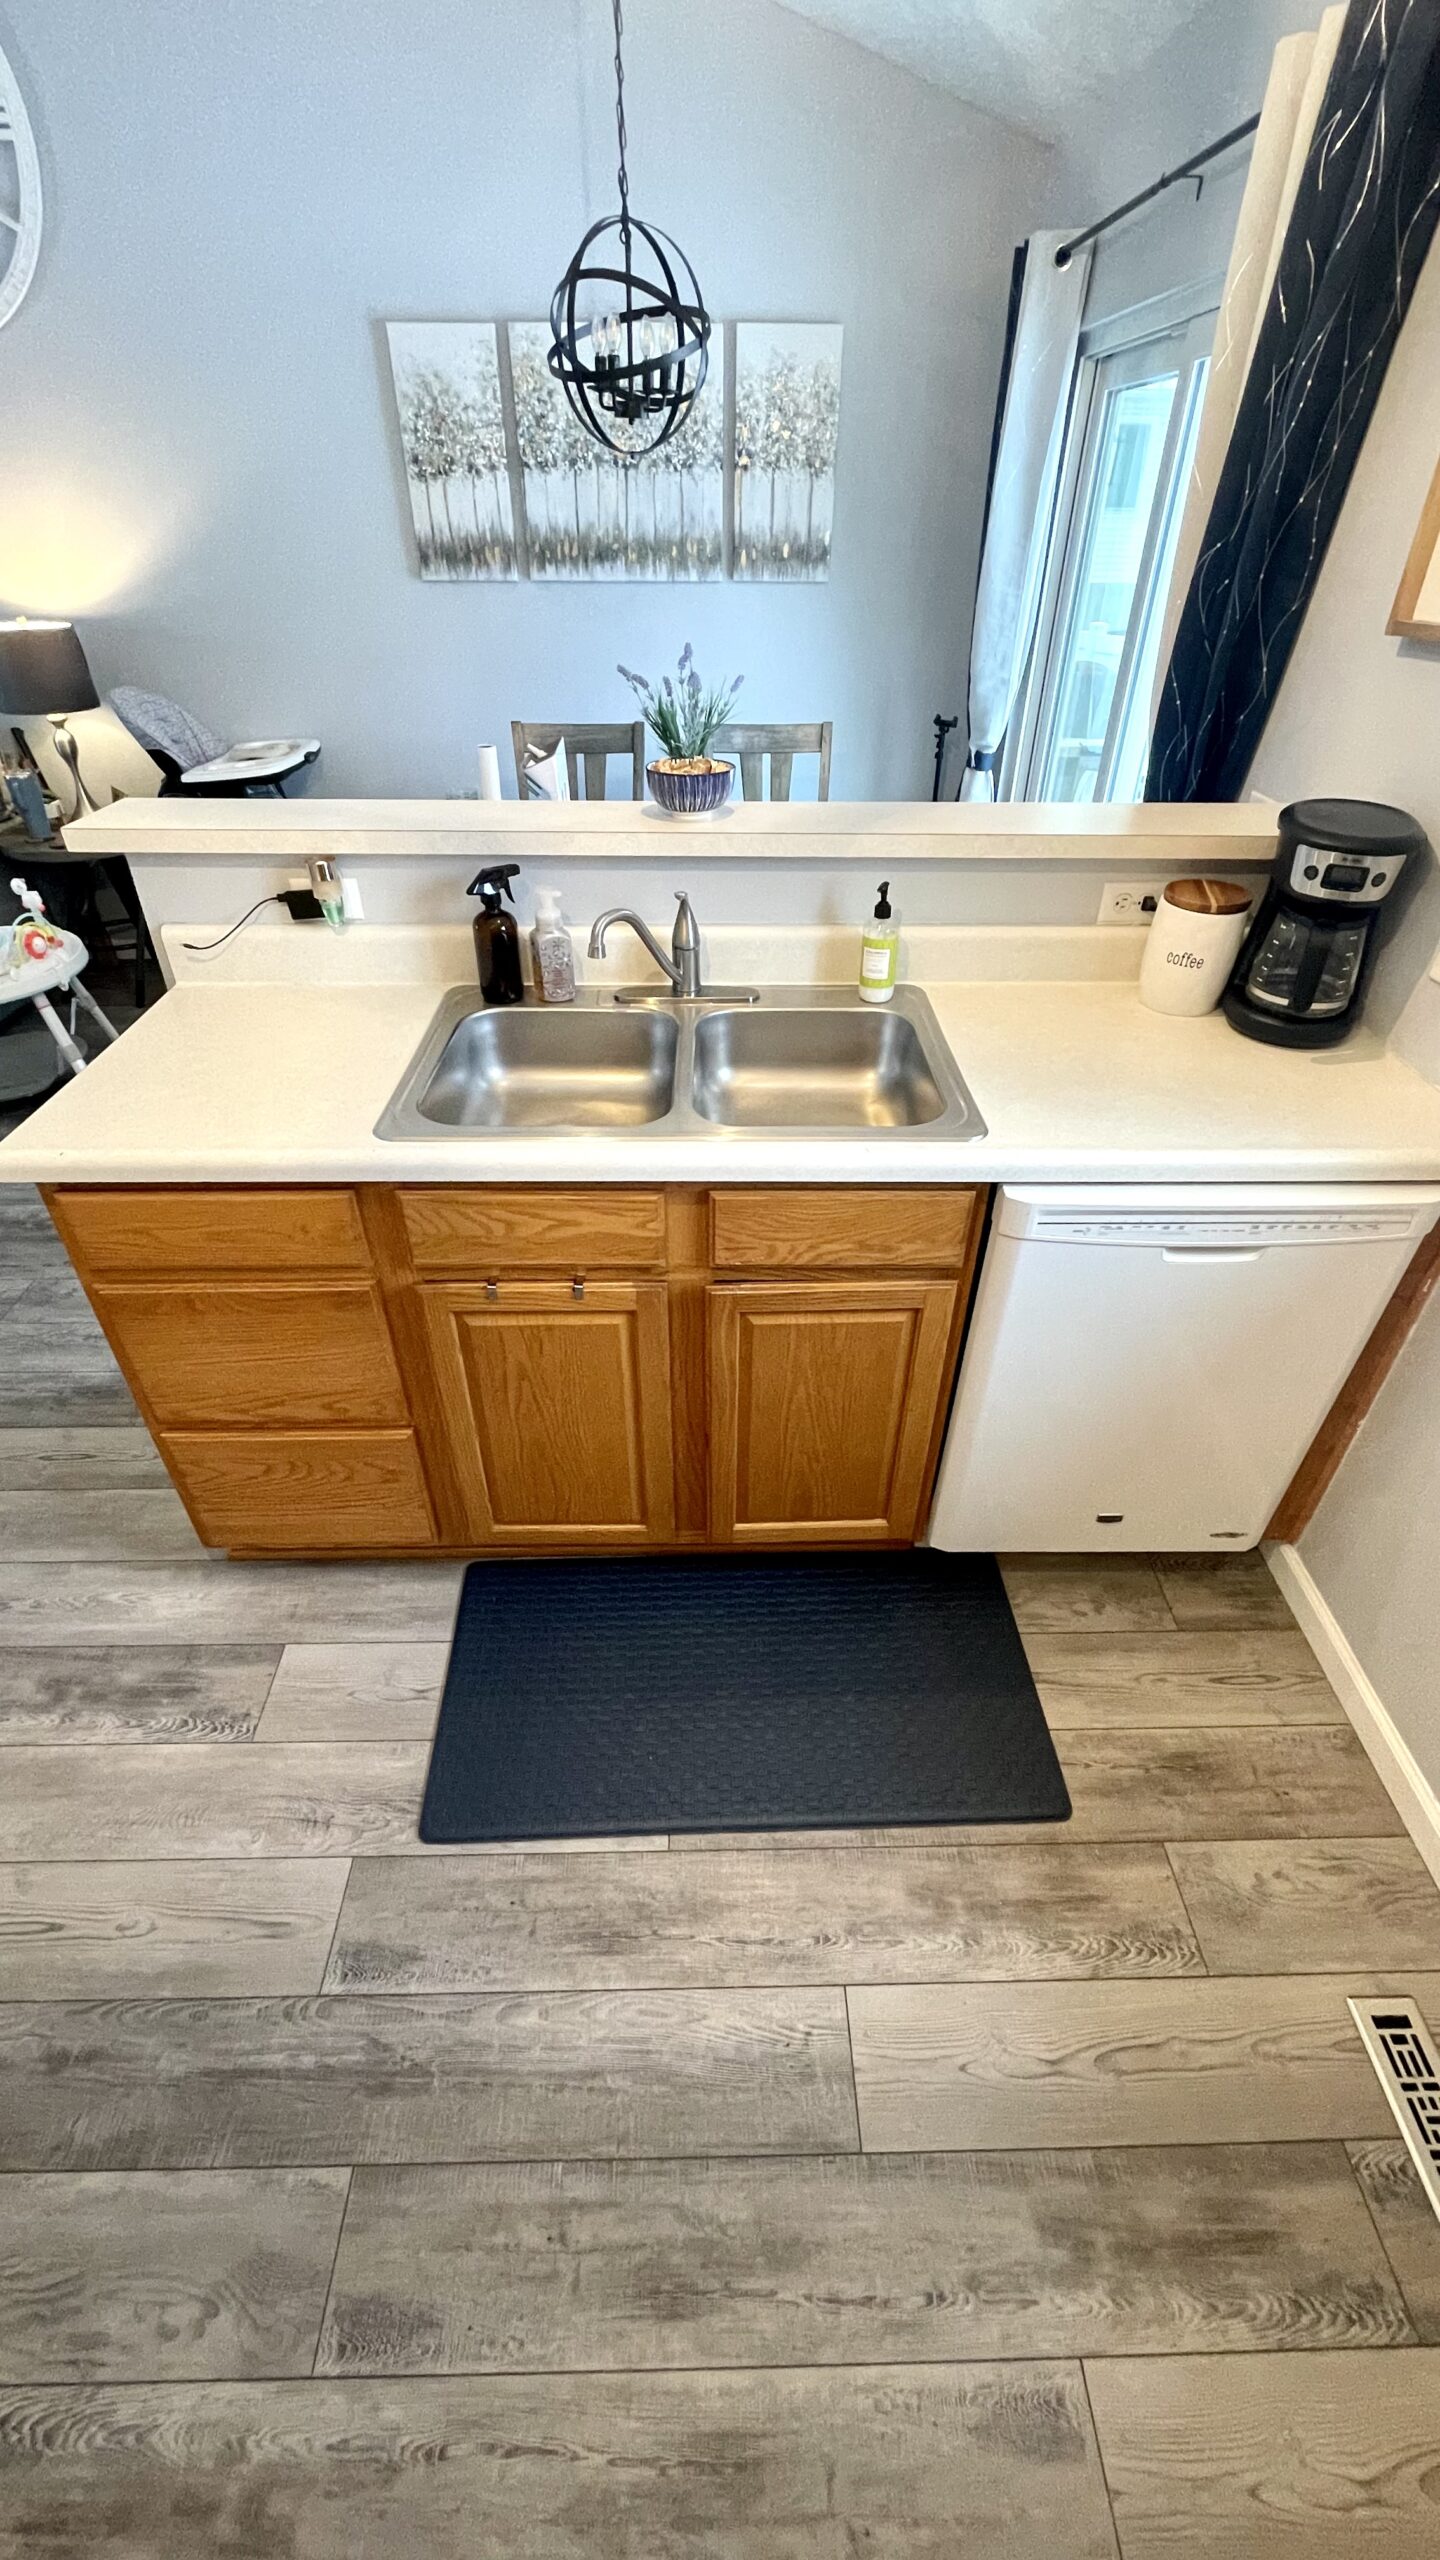
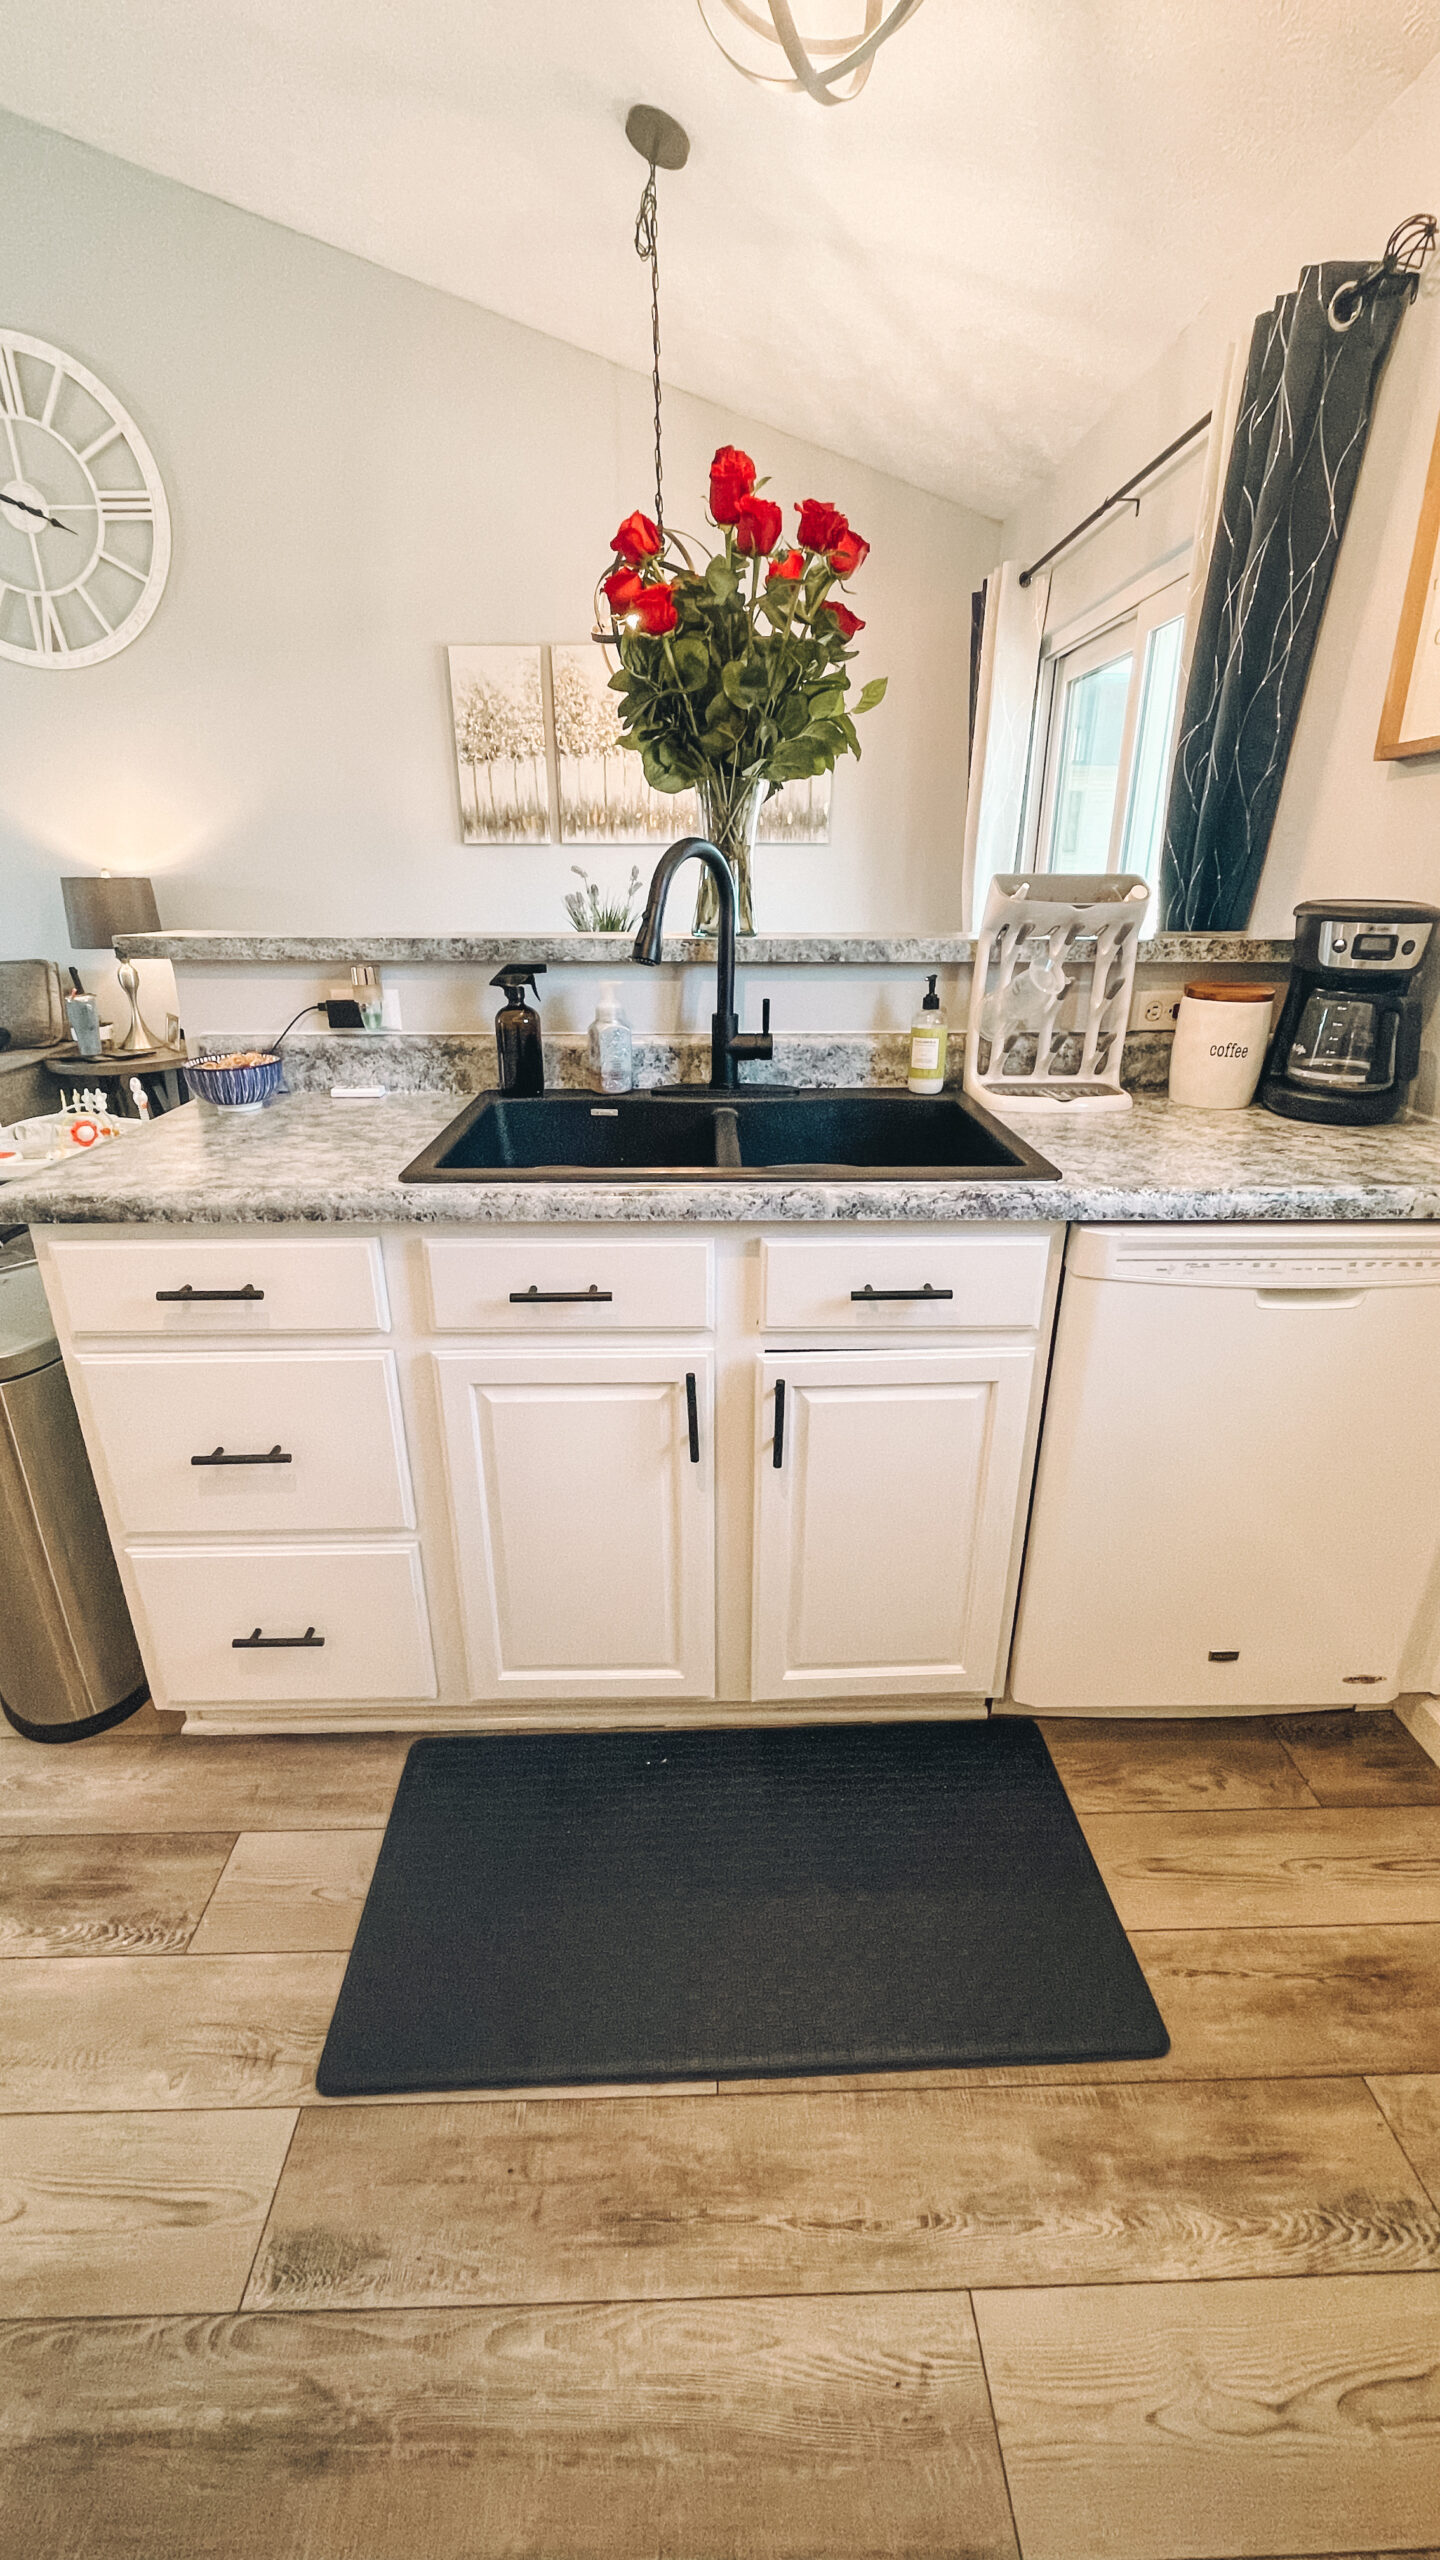
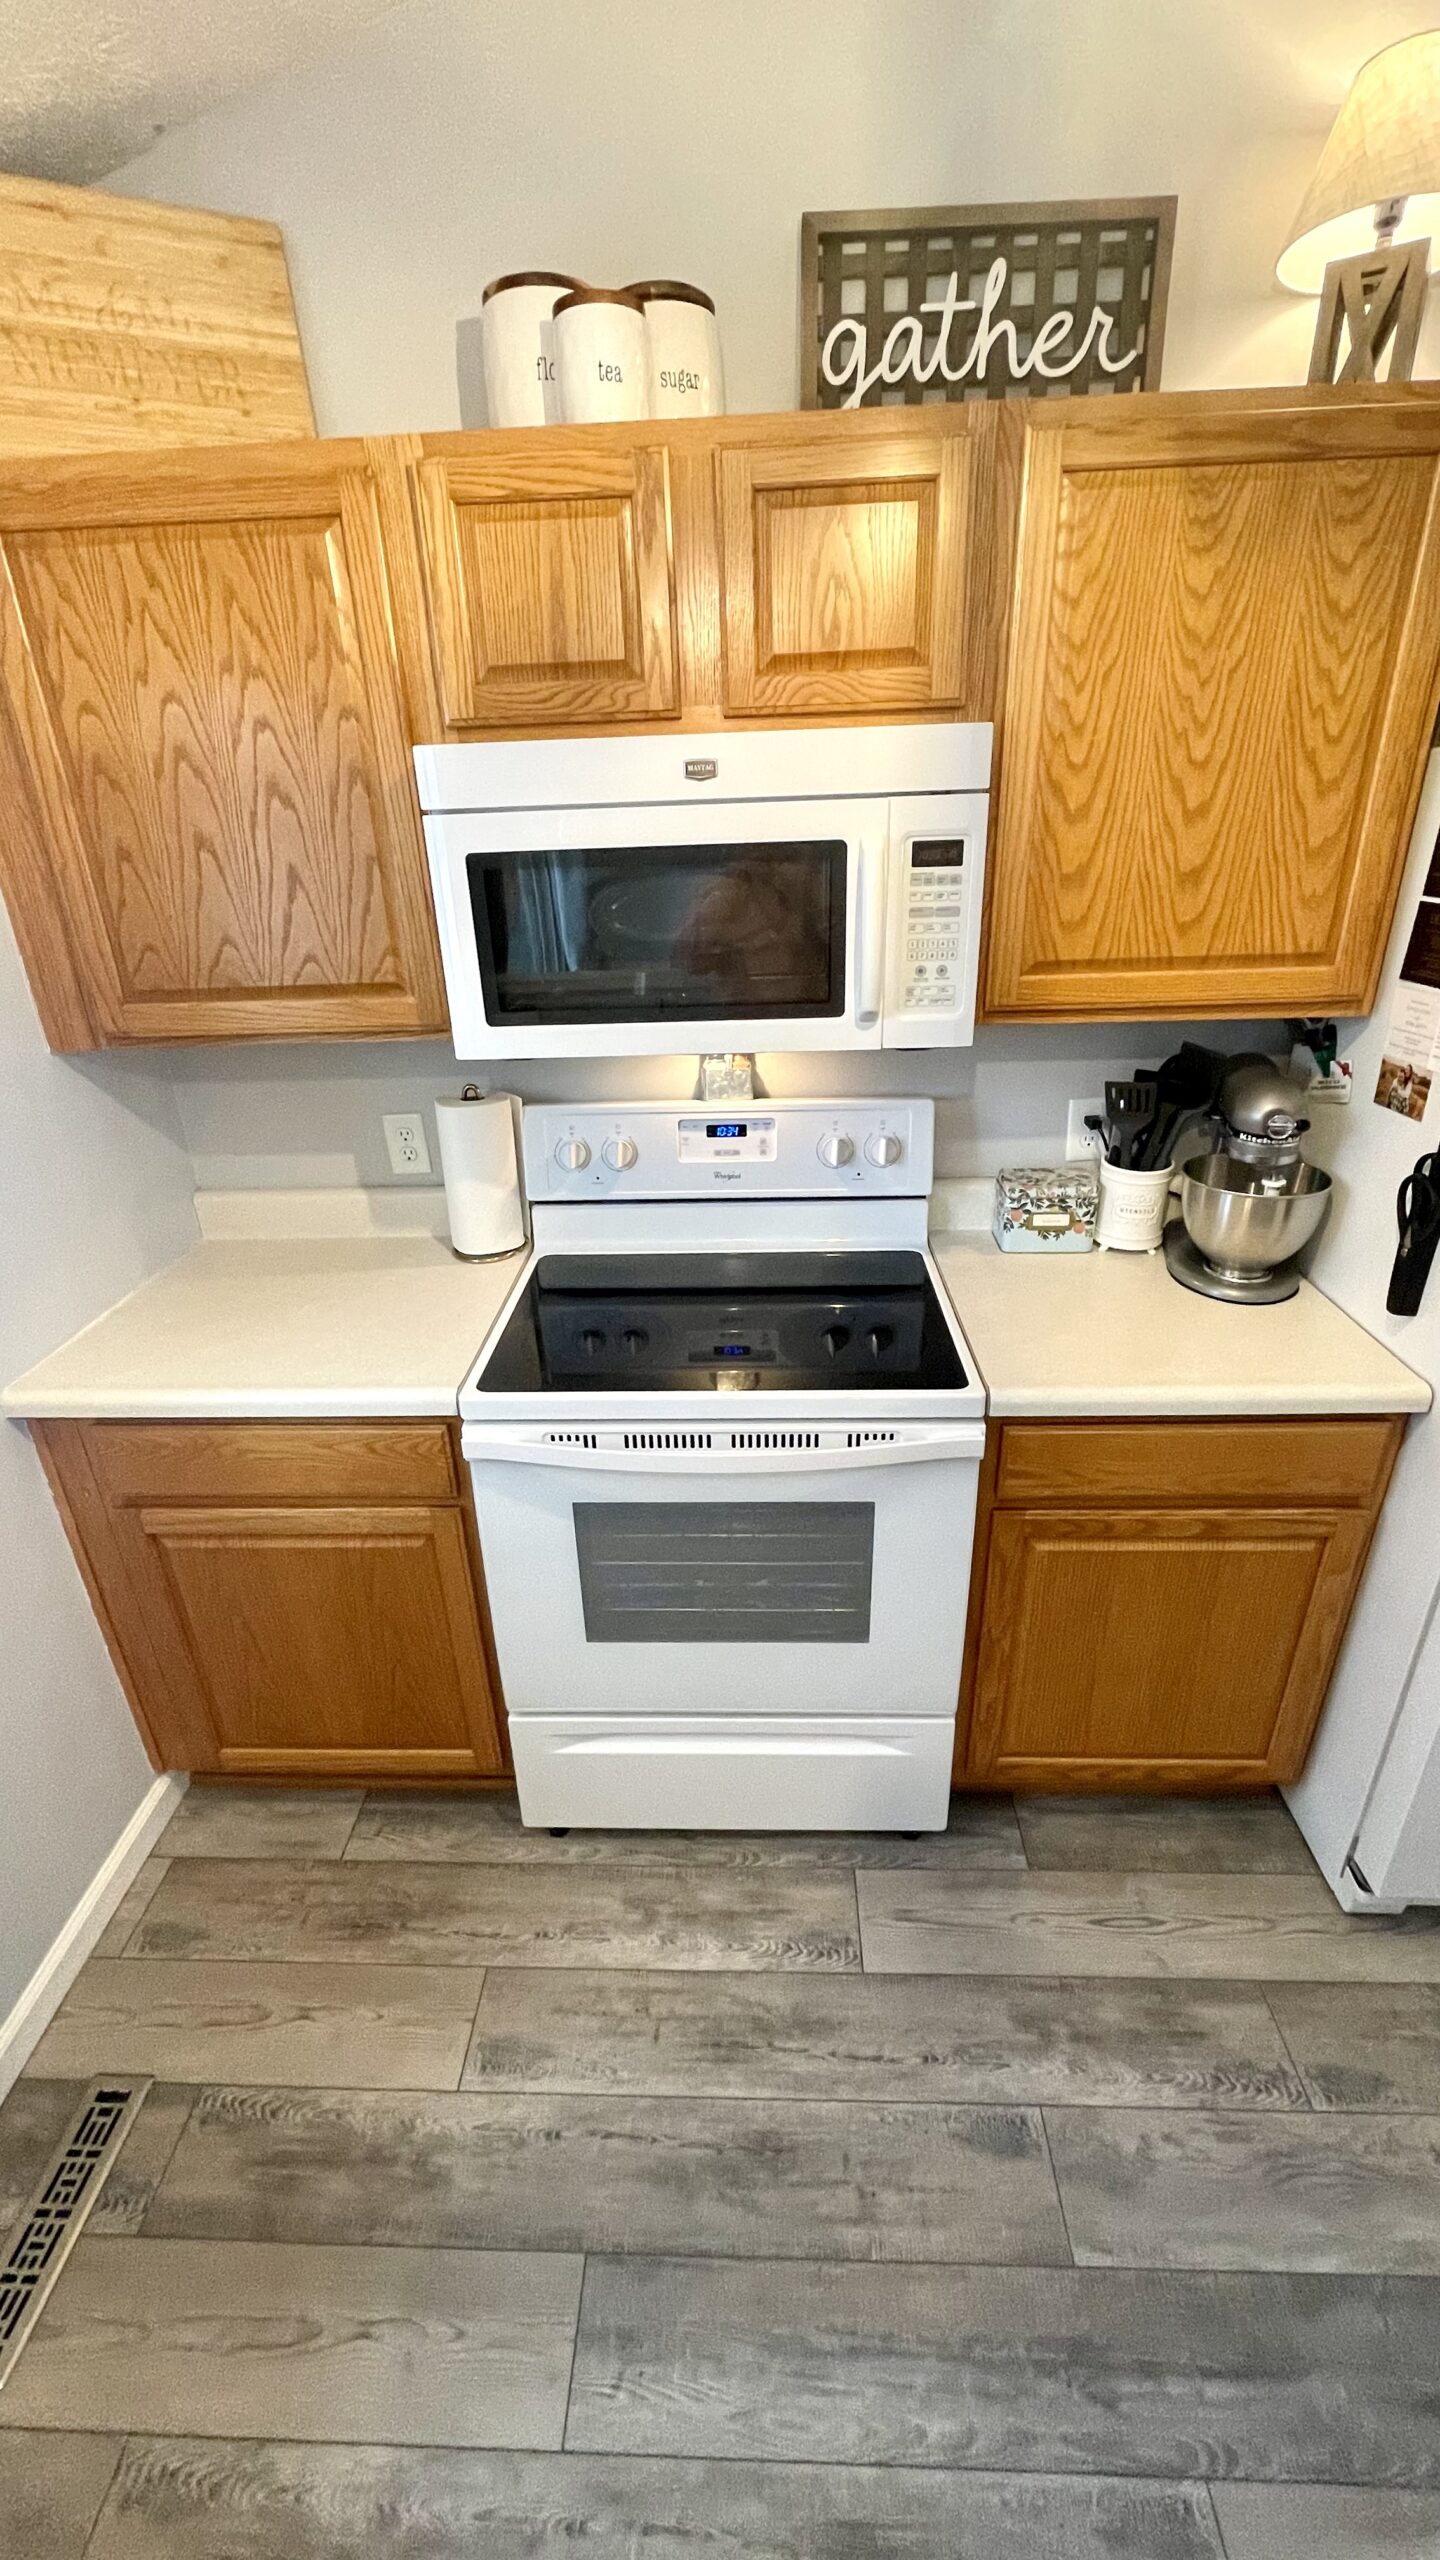
Our cabinets were oak (orange-y), our countertops were an off white laminate, and we had a very shallow stainless steel sink – all things we decided on updating/replacing. The appliances are white, and are working fine, so that was not something we wanted to spend money on. After talking about it and looking at different options, we decided to paint the cabinets white and add black pulls, paint the countertops using a specific kit, and replace the sink and faucet.
The whole project took two full weekends to finish, but we honestly estimated it taking much longer. We both agreed that had we known we’d be able to complete it that quick, we’d have done it much sooner. Granted, we have what my grandma calls a “one-butt kitchen” so if you have more cabinets and countertops, it will probably take longer.
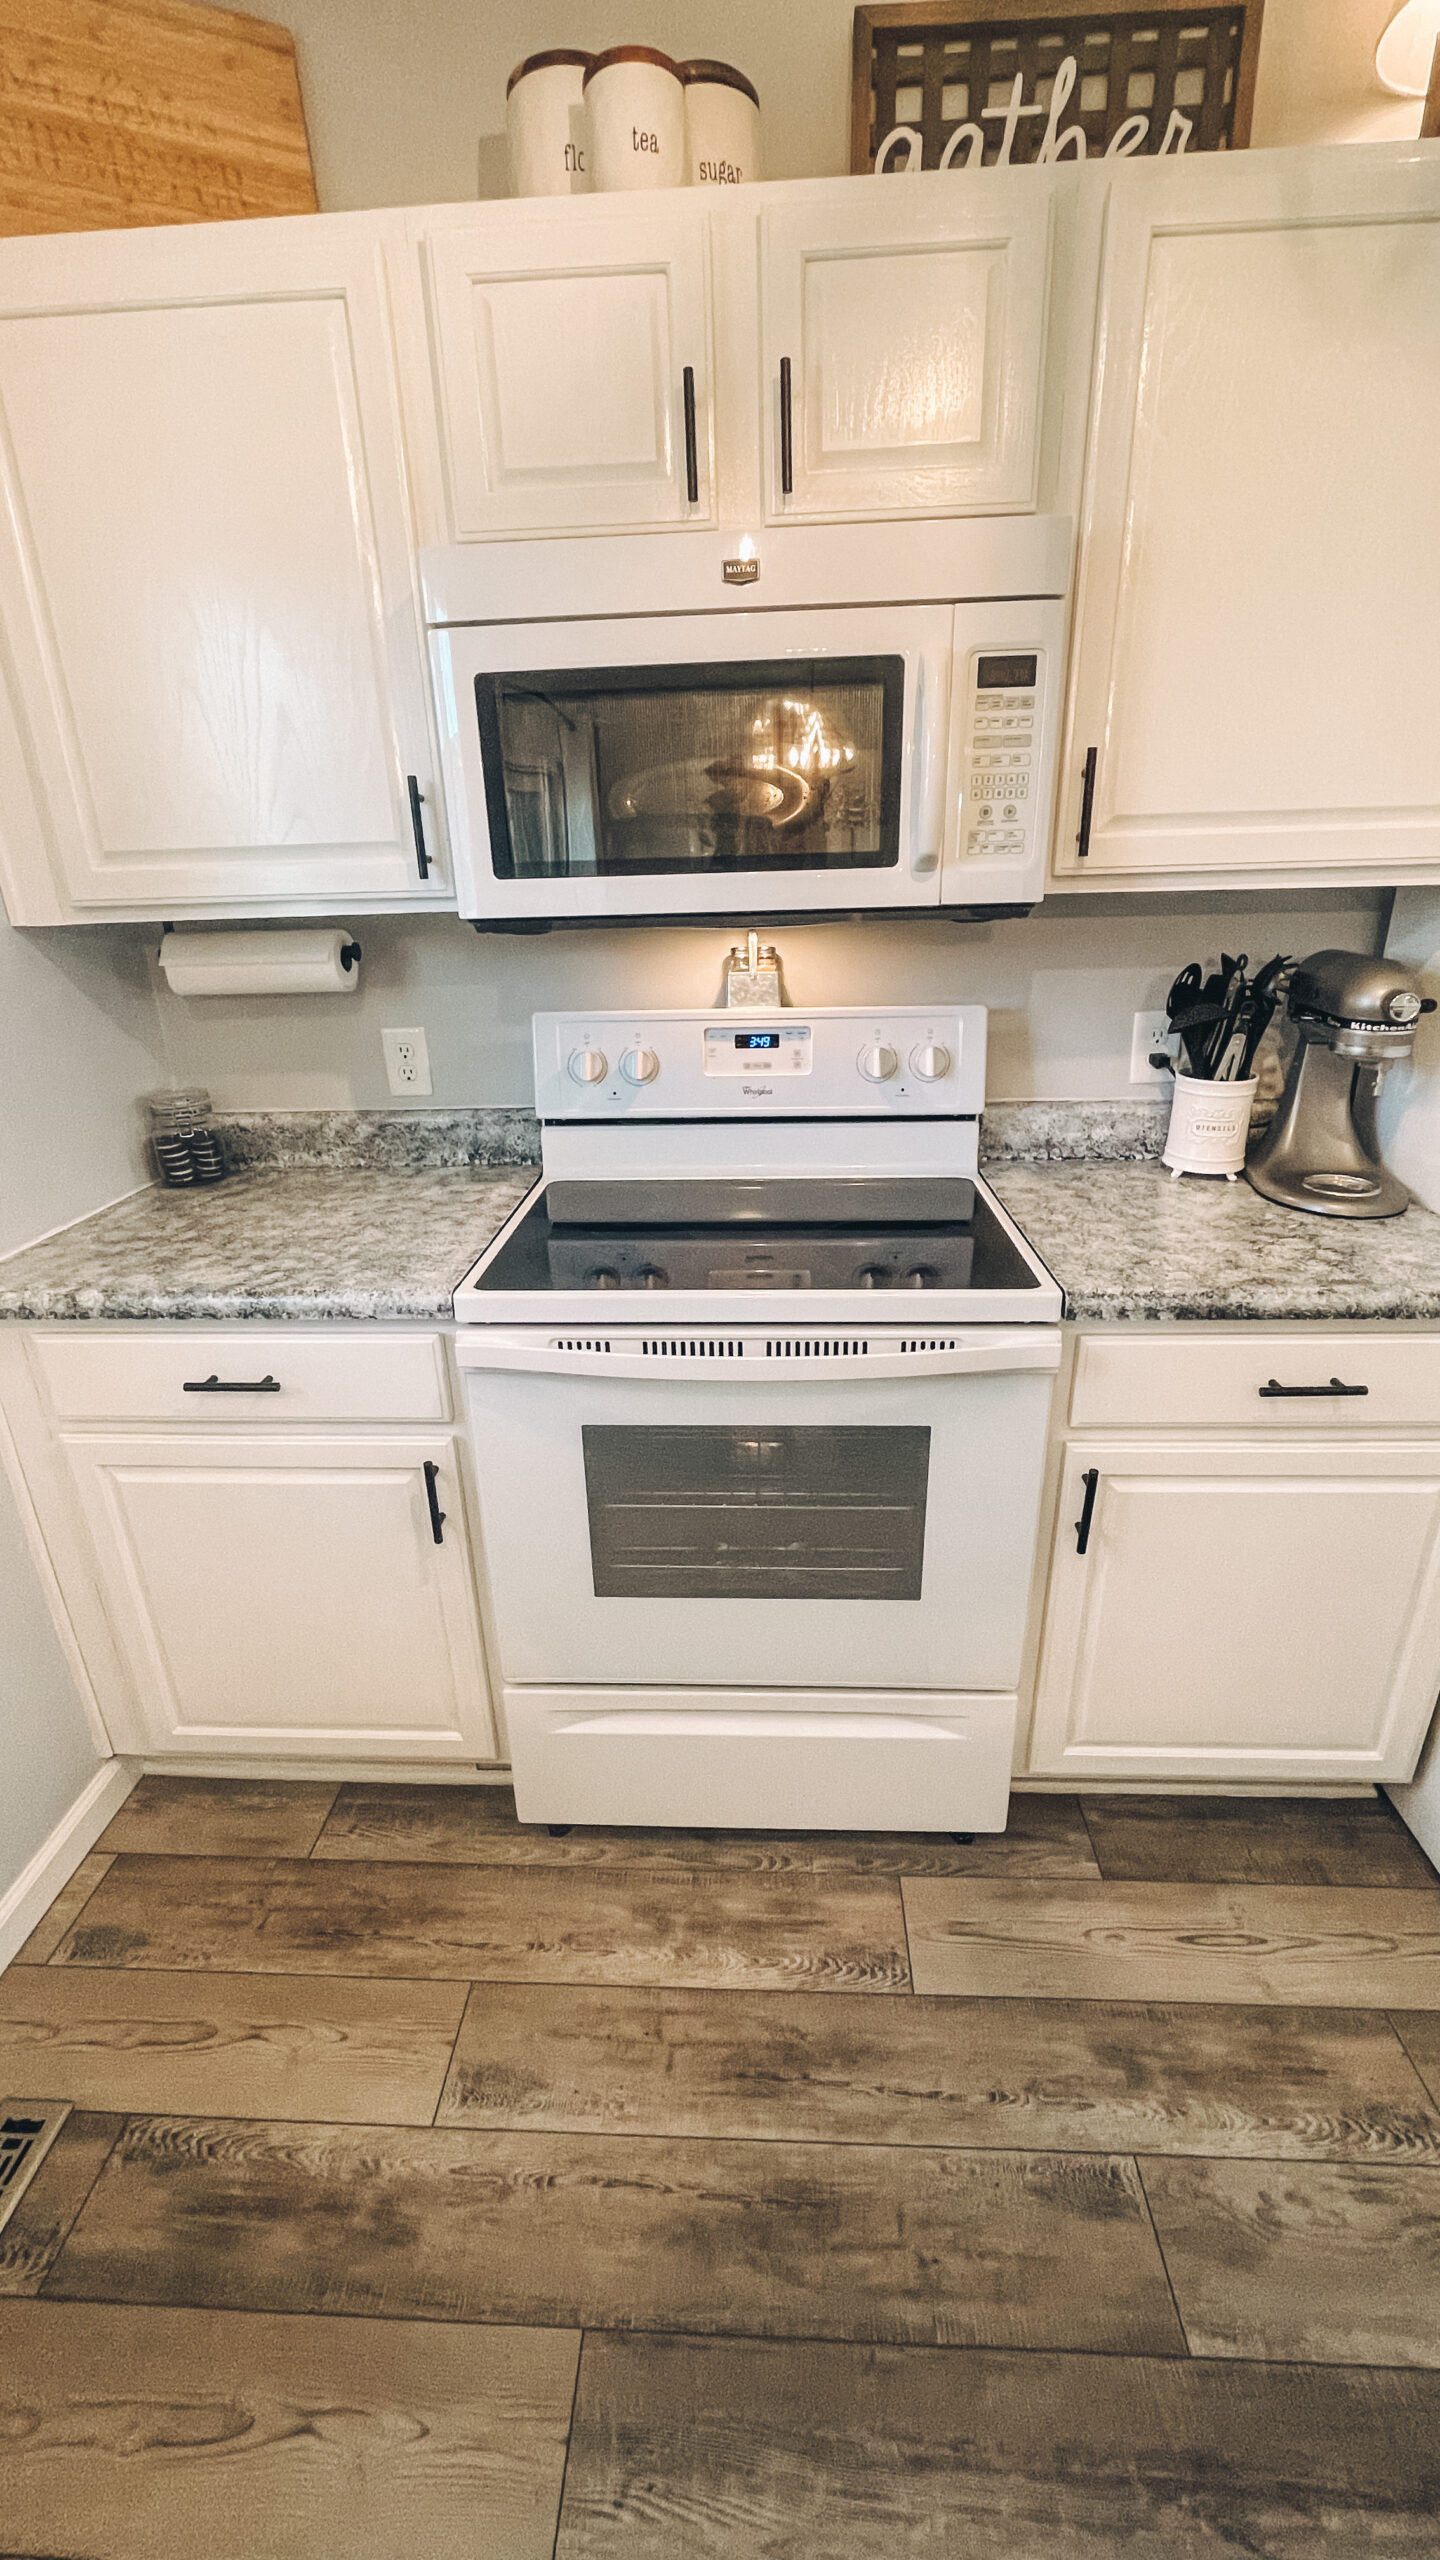
The first weekend was spent painting the cabinets. We didn’t sand the doors and we kind of regret not doing that. We read that it’s not necessary, but we also didn’t use “cabinet specific” paint which is what you should use if you aren’t sanding. We asked someone in the paint section and they recommended a certain paint, and after it was mixed, we saw the “cabinet paint.” Whoops. This process took one full weekend (thankfully Callie was SO good that weekend.) We started by doing a good clean on the cabinets, and then taking the doors off and priming. We let the primer dry for 2-3 hours before starting with actual paint. We chose Sherwin Williams “Pure White” because that is the same color as our trim. We did two coats with an overnight dry time in between. When they were fully dry, we noticed a little bit of chipping if we knicked the paint with our nails. (Again, probably because we didn’t use the correct paint or sand.) So, we decided to add a top coat. We went with a polycryllic and did two coats of this.
Once we were satisfied with the paint, Colin added the pulls. We went with simple black pulls and we got them from Amazon. They were pretty reasonably priced, and we only needed about half of them. We were lucky in the fact that our current cabinets didn’t have any pulls to begin with so we didn’t have to worry about any previous drill holes. If you do replace pulls, make sure to measure the distance between the holes so the new ones match.
Fast forward one week and we were back at it to finish the countertops and install the sink. Our original plan was to install new countertops, but it was going to be months before they were in stock and for the tiny amount of countertop space we had, it seemed ridiculously expensive for laminate. I remembered that I had seen videos on TikTok about people painting their countertops so I did a little research in that!
The cost of the countertop paint we purchased was $100 and we liked the looks of it from the videos we saw. Colin and I agreed that if it didn’t work, we’d really only be out our time so we gave it a shot. The process itself was easy, but it was much more time consuming than we estimated. The kit comes with a primer, three colors, and a top coat. (There are five different colored kits to choose from.) The prep work included double taping around the counters because the primer can bleed through, and then cleaning the countertops.
If you have a second person with you, the actual painting of the countertops goes pretty quickly. If you are by yourself, add plenty of time. We started with the primer – I used the sponge to cut in everywhere, and Colin followed behind with the roller. In our small space, we were done with this in about 30 minutes. BUT the kit said to allow for eight hours of dry time. So if you want to get this done in a weekend, START EARLY. We didn’t start until noon so we couldn’t do the next step until later that evening.
Once the primer had dried, we took the three colors and the sponge and dabbed them one at a time all over the counters. I started with one color, and then Colin followed behind with the next. I did the third color and then he took a clean sponge to blend. This all happens at the same time, no drying in between. After we finished, I wasn’t thrilled with the look. It was very patchy and not blended well. So I went back in with a little white, and the clean sponge and blended and blended and blended until I was happy. It took me a little while to get the technique, but it looked so good once I did! The blending process took about 2 hours with two people so if you’re by yourself allow for extra time.
Another 4 hours of dry time was needed, so the next morning we did the top coat. It was the same process as the primer. We waited another four hours and did a second top coat as recommended. Four hours after that, Colin installed the sink. I could not tell you one thing about that process as I stayed out of his way! Once that was finished, we caulked around the sink and any edges where the counters met the wall.
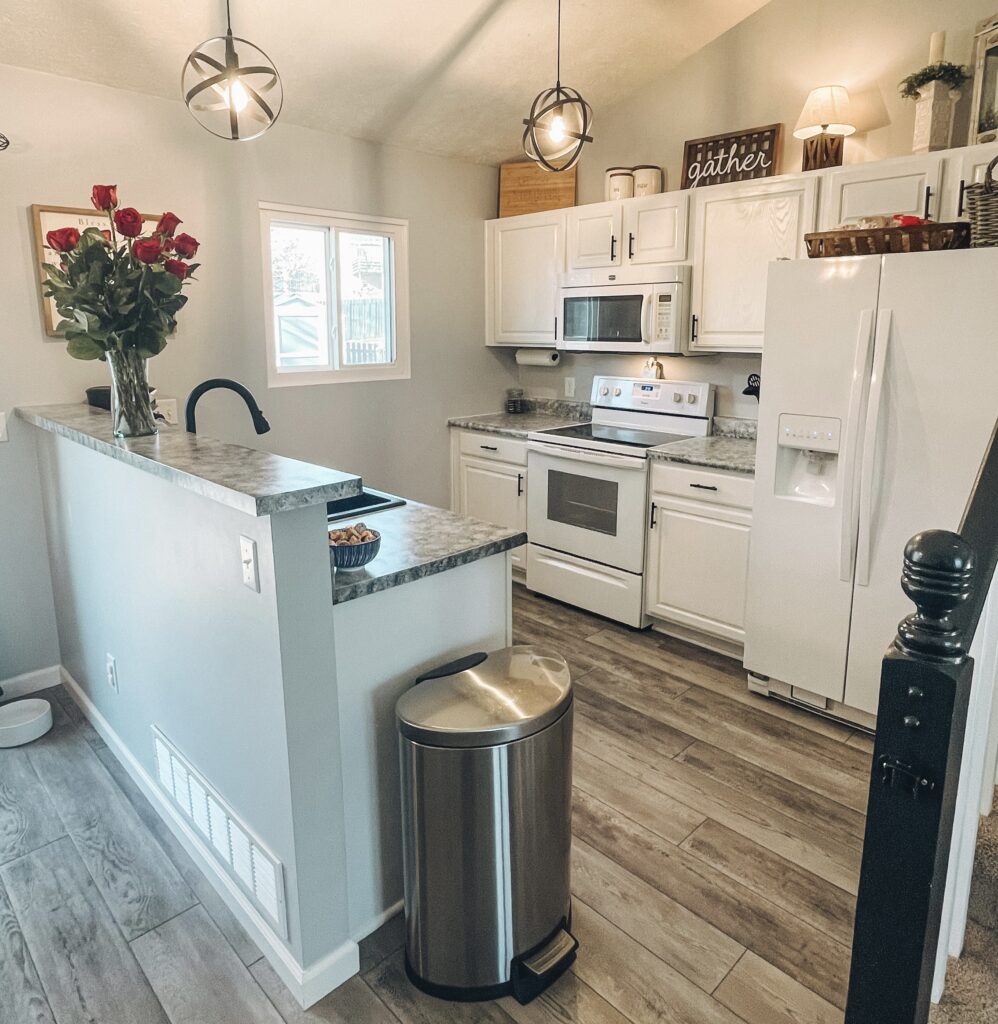
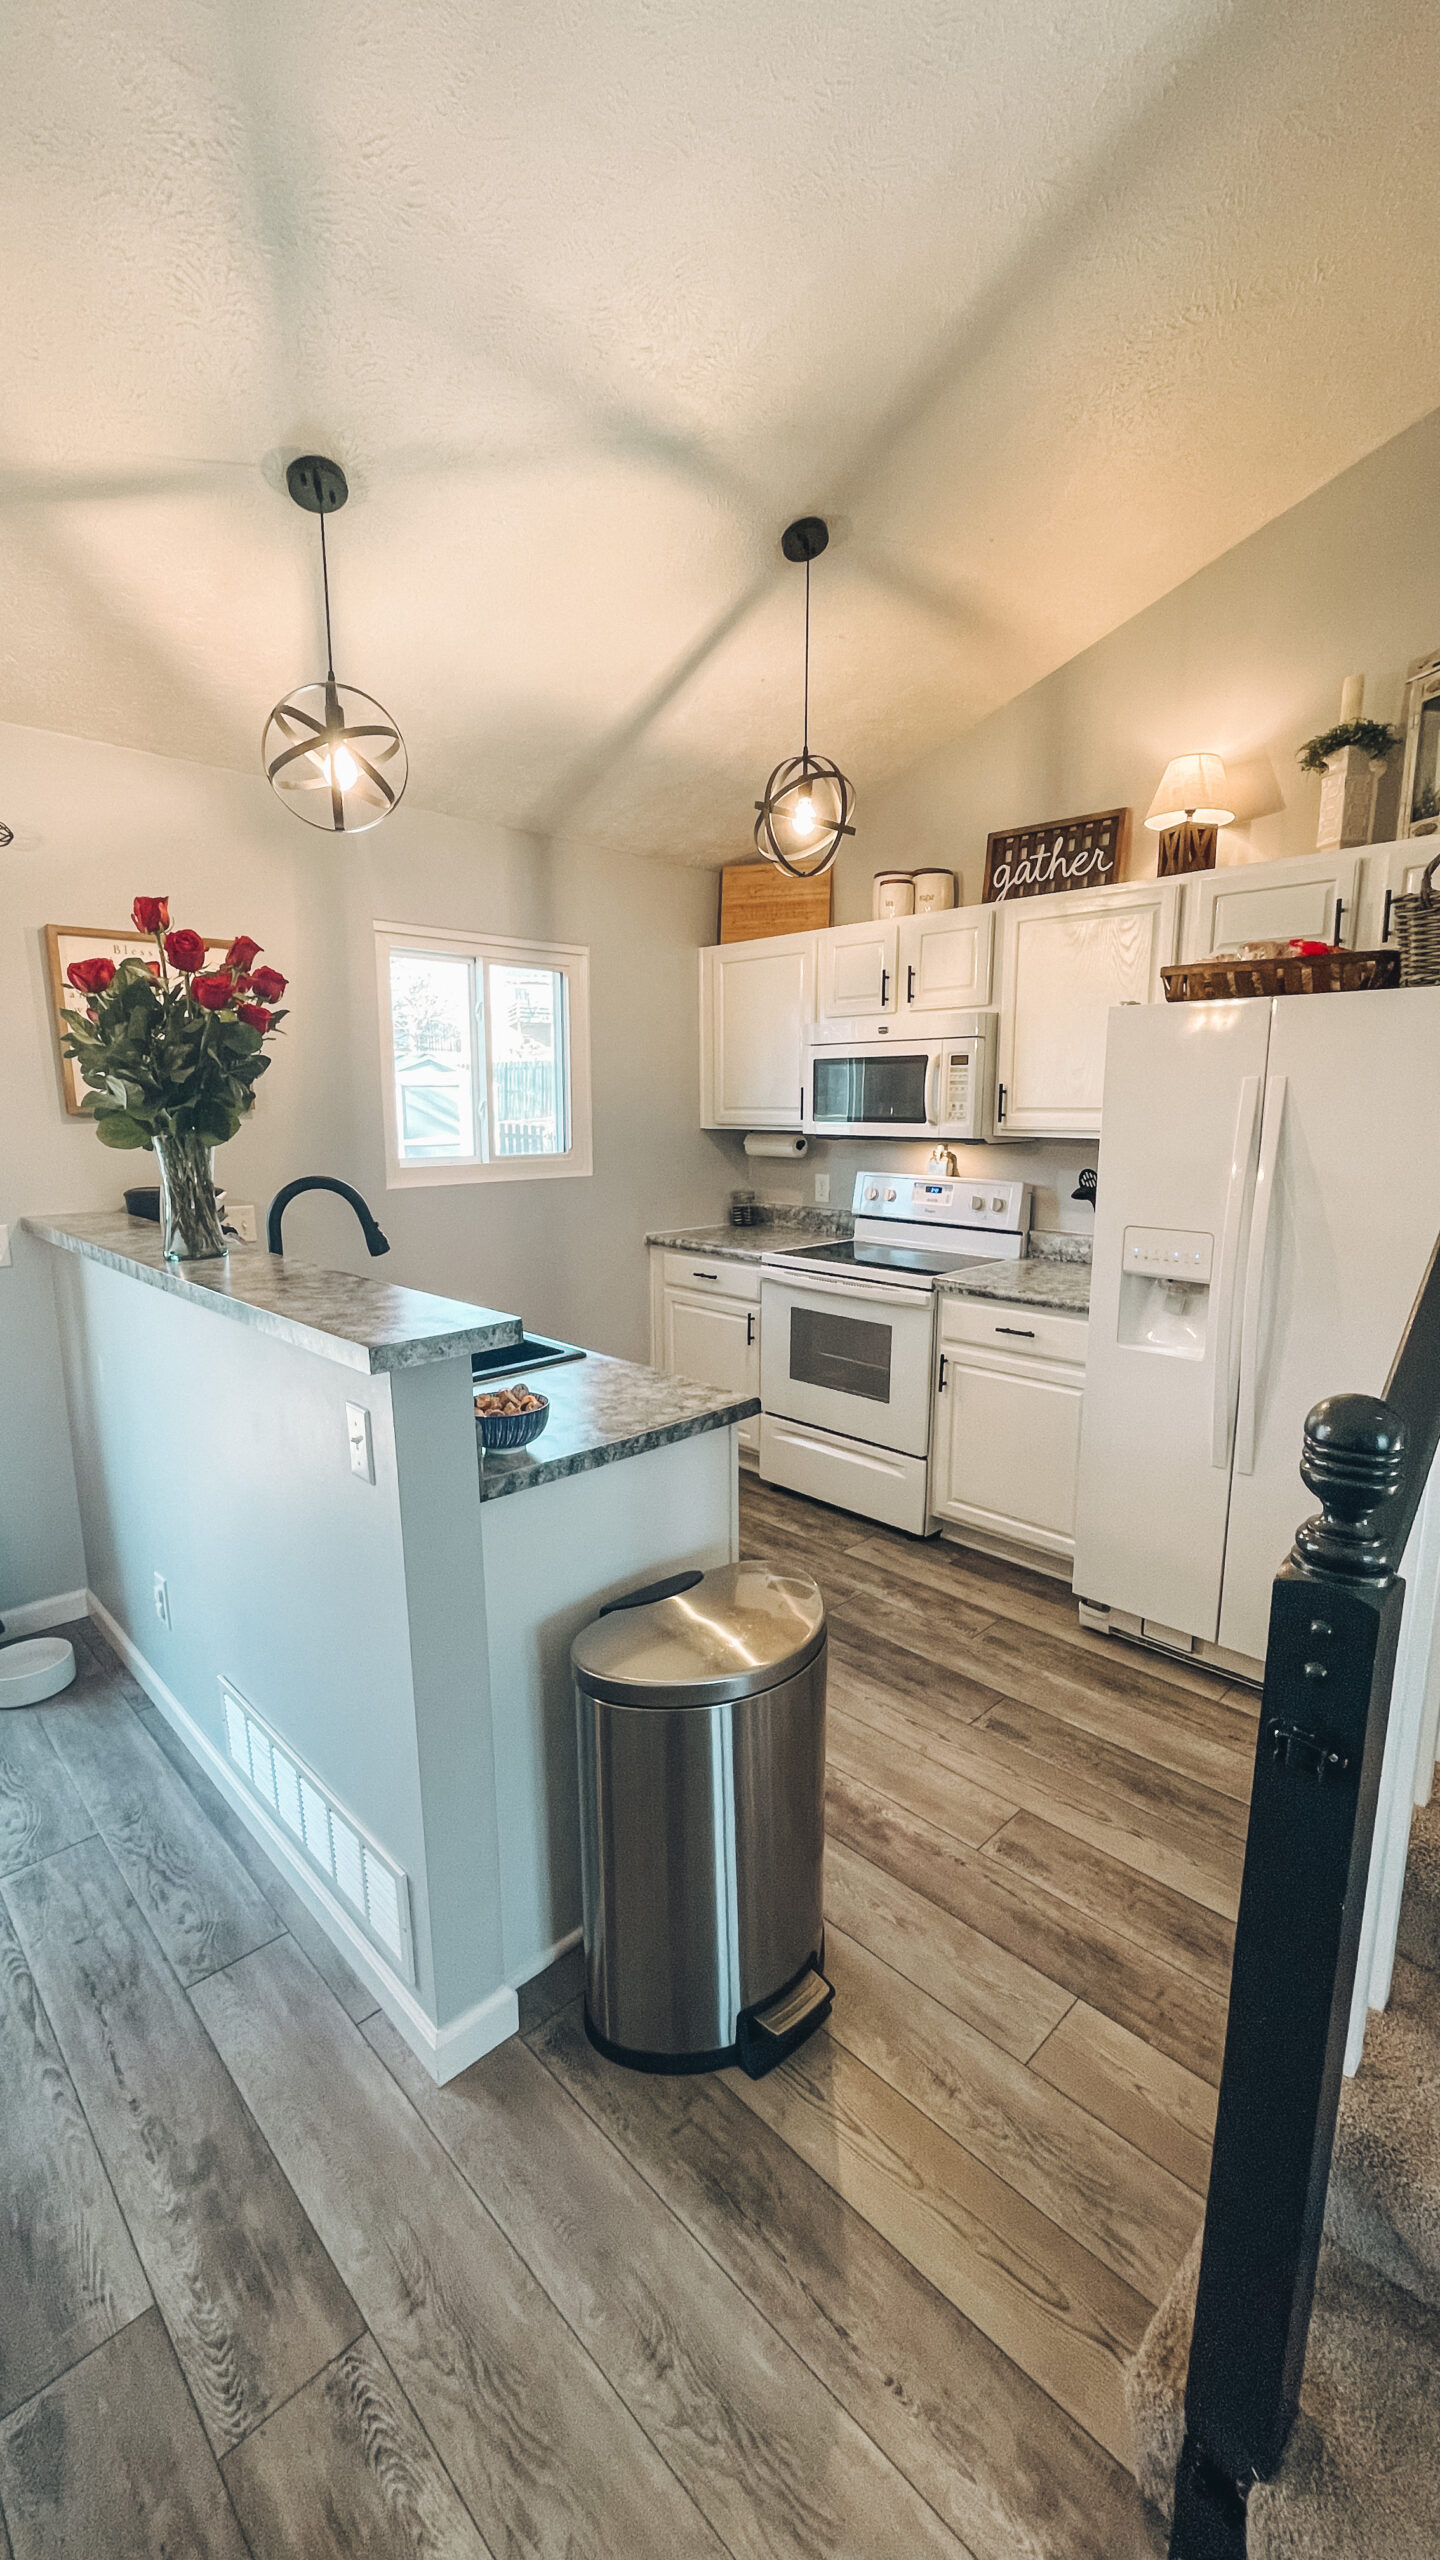
Just the added dry times added up for the countertops is 20 hours plus the time it takes to prep and paint, so plan accordingly if you choose to do it! That being said, I love how they turned out and would definitely do it again! For the price, it was totally worth it and completely transformed the look of our kitchen! Adding a black sink was the perfect touch with our white cabinets and grey countertops.
Things we would do differently if there was a “next time”: get the correct cabinet paint, sand the cabinet doors a little bit, and start the countertops earlier. To sum up our process and outcome, it was much easier than we anticipated, and LOVE the result. 10/10 reccomend
In addition to our renovation, here are some of my favorite kitchen products!
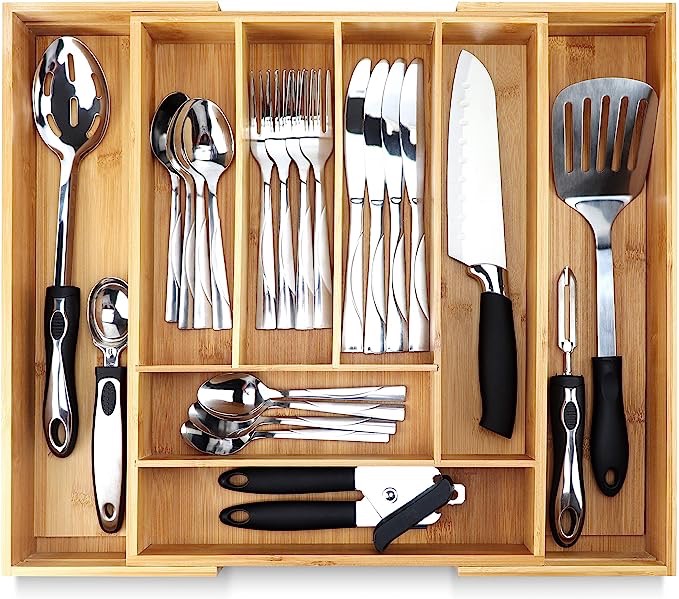
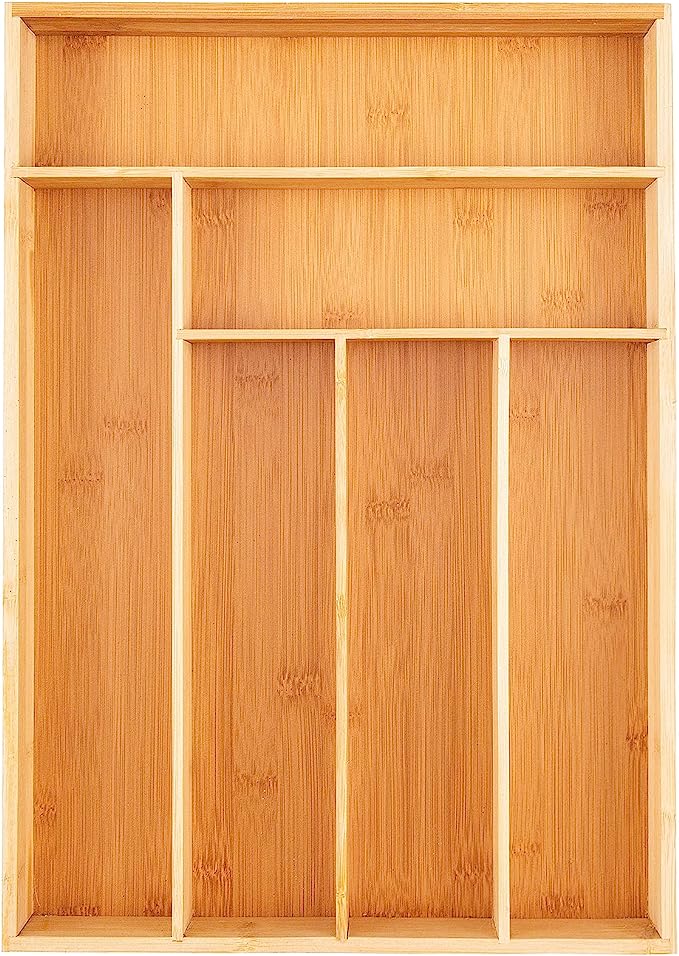
Aesthetic, adjustable, practical.
Same as above!
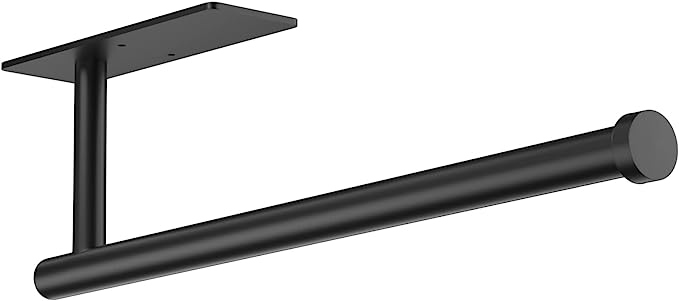
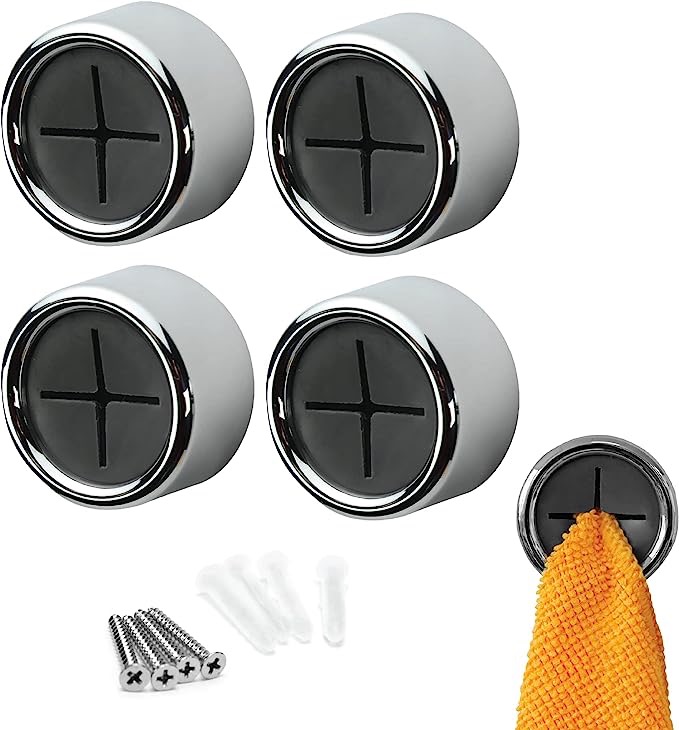
Great for keeping counters clean. The adhesive did not work so we did use the screws but it works great!
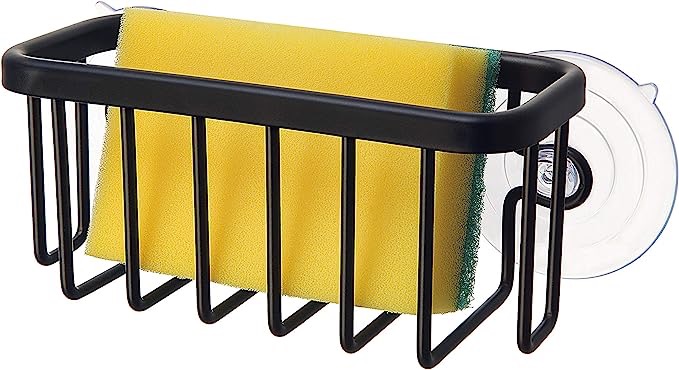
Basic black caddy to keep your sponges from stinking!
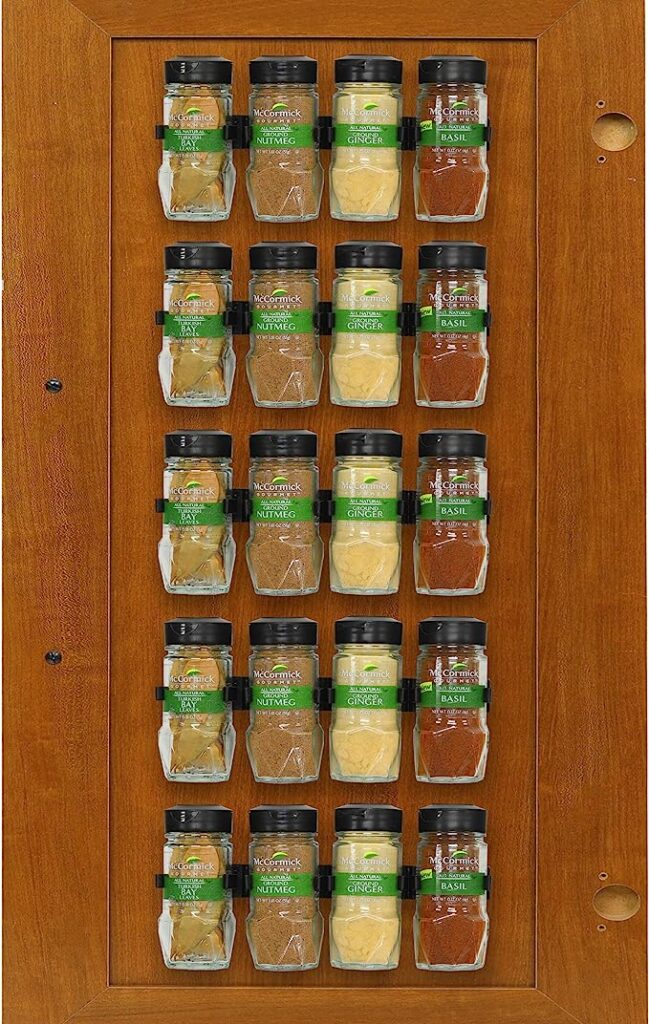
The best kitchen item I’ve found! Perfect for smaller kitchens or just saving space. I’ve had them up for 2+ years and they’ve never fallen.
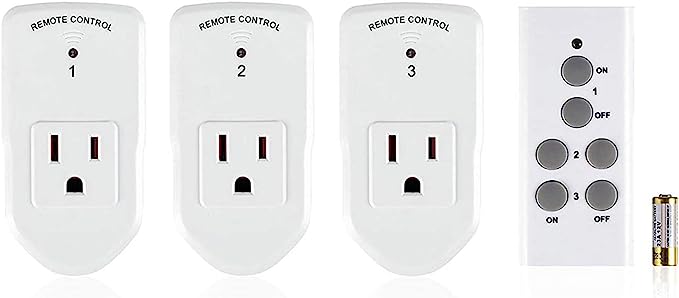
We keep a lamp above our cabinets and use this to turn it on and off

We keep our coffee in this and it’s so cute!
These are great to have in the kitchen, bathroom, laundry room, etc!
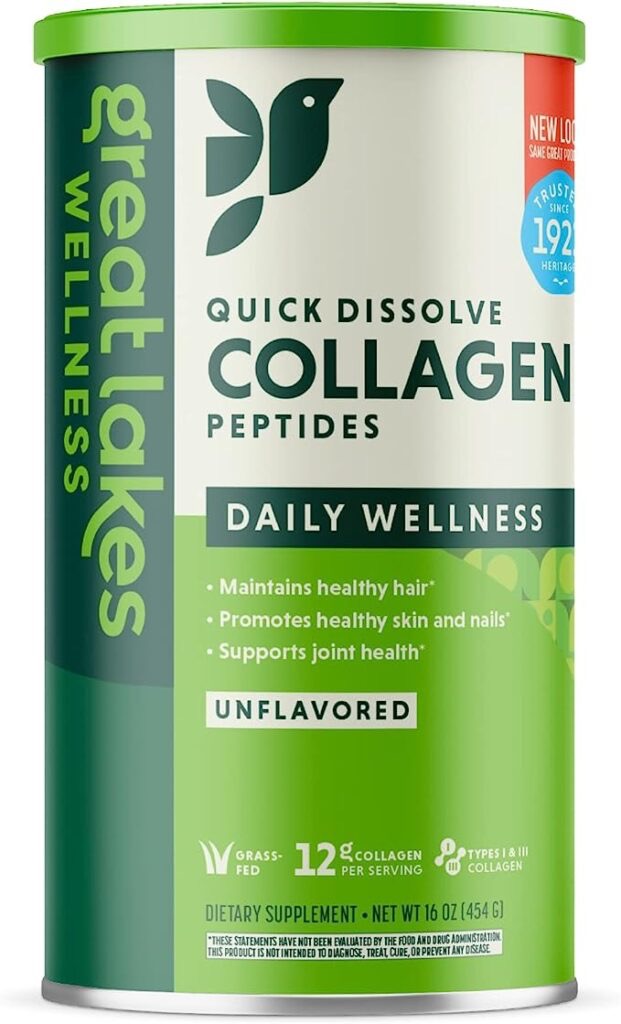
A little odd to this list, but I love using this is my coffee every morning!